You can set up a process to automatically assign a specific packing slip to certain orders that might have unique requirements.
If certain order criteria indicate which Packing Slip Template an order should use, rather than selecting the template manually, you can let Infoplus automatically assign the template based on that order criteria.
For example, if you sell alcohol and require a certain Packing Slip for all orders containing alcohol items, you could create a smart filter that captures only orders with alcohol (i.e,.filter on specific SKUs or other relevant fields), and then create a Trigger to automatically change the Packing Slip Template whenever an order meeting that smart filter criteria is created or updated.
NOTE: During Fulfillment, you can also choose to override any Packing Slip Template assigned to orders.
Create a Trigger to Automatically Assign a Packing Slip Template to an Order
Before creating the trigger:
- The smart filter you want to act upon must be created. See Create / Manage Smart Filters for information.
- You must know the Template ID of the Packing List Template you want assigned by the Trigger. You can obtain the Template ID in the Packing List Template table. Press the dot (.) on your keyboard and select Packing List Template. Note the ID that displays in the first column next to the desired template.
- Access the Manage Triggers window by pressing the dot (.) on your keyboard and selecting Manage Triggers from the drop-down menu.
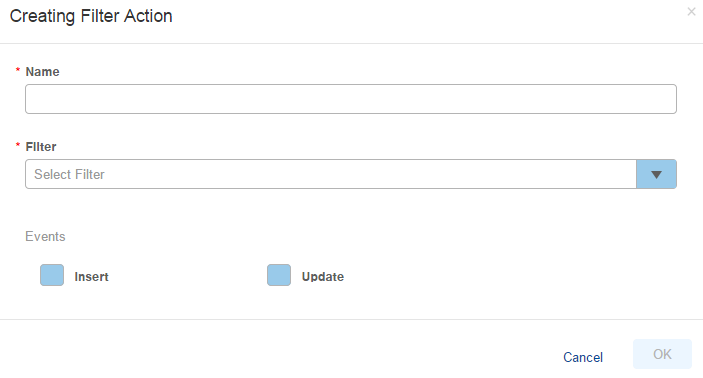
- Click the Create New button in the top right. The Creating Triggers window appears:

- Type a Name for the trigger (i.e., "Assign Packing Slip Template 1 to Alcohol Orders").
- Select the Smart Filter to be used in this trigger. This smart filter represents the orders that this action will occur upon (i.e., You may have created a smart filter called “Orders containing Alcohol Items” that represents a specific list of SKUs).
- Select on which Event(s) the action should occur.
- "Insert" means the action will take place when a new record is created/inserted that meets the smart filter criteria (i.e., when a new order is created for one of the SKUs specified in the smart filter).
- "Update" means the action will take place when an existing record is updated which makes it then meet the smart filter criteria (i.e., if an existing order is modified to include one of the SKUs specified in the smart filter).
NOTE: You can select more than one event. Only events that are available for the table used in the smart filter will display. Also, regardless of your "Insert" or "Update" event selections, actions will only occur on records that meet the smart filter criteria from this point forward. - Click OK. The trigger will display in the Manage Triggers table.
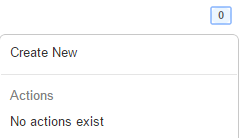
- Now you need to create the action to be taken on the smart filter: Click the “0” that appears in the Actions column next to the trigger. A drop-down menu will appear:

- Click Create New. The Create Actions window appears.
- In the Action Type field, select Change Packing Slip Template.
- Enter the Template ID of the Packing Slip Template you want to use. If you do not know the Template ID, you will need to go to the Packing List Template table. (Press the dot (.) on your keyboard and select Packing List Template. Note the ID that displays in the first column next to the desired template.)
- Click Save. (A “1” will now appear in the Actions column in the Manage Triggers window.) When an Order meets the smart filter criteria selected, the Trigger will be prompted. For more information on creating, editing, deleting and reordering Triggers, see Create/Manage Triggers.

-1.png?height=120&name=InfoPlus-Primary-Logo%20(1)-1.png)