Table Of Contents
Install Infoplus LocalConnect
LocalConnect will give you the capability to connect your printer and print off your warehouse documents.
Infoplus LocalConnect is an Infoplus Plug-In that lets Infoplus detect and use installed printers and scales. This is the first step in allowing Infoplus to automatically print parcel labels to your local printers, as well as automatically read and input the value displayed on a scale when shipping packages.
If the computer(s) and printer(s) in question are hard-wired, LocalConnect would need to be installed on each machine that has a printer hard-wired to it. Doing so will give Infoplus access to all printers found on machines running LocalConnect.
If the printers in question are networked devices, LocalConnect would only need to be installed on one machine that has access to the networked printer(s).
Note that LocalConnect must be online and running for printers to be visible in Infoplus, we recommend making the program run on startup or putting it on a local server.
How to Install Infoplus LocalConnect
- Click the Infoplus LocalConnect Executable file shown for the computer system you are using.
LocalConnect Install Files (Links Last Updated: February 2022):
- Windows
- Mac - Open the InfoplusLocalConnect.exe file that you downloaded.
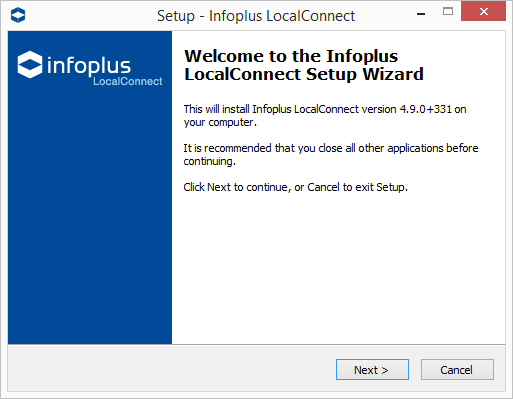
- If prompted to run the installation, click Run. The Setup Wizard welcome screen will appear.
- Click Next through the Setup Wizard screens, reviewing and editing the selections as needed.
- When you reach the final screen in the Setup Wizard where the Finish button appears, leave the "Launch Infoplus LocalConnect" checkbox selected. Here is a screenshot of the final screen in the Setup Wizard.
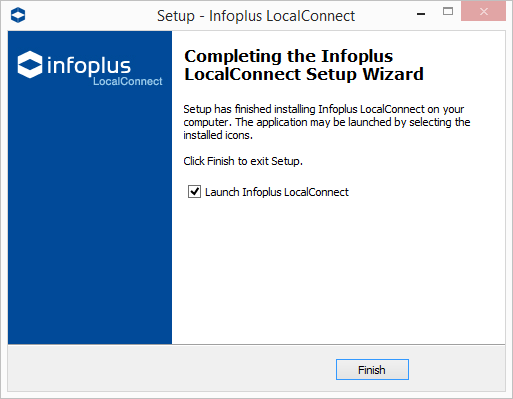
-
Click Finish. Continue to the next section to sign into Infoplus LocalConnect.
Sign In to Infoplus LocalConnect
- Open Infoplus LocalConnect.
NOTE: The application will automatically open after installation if you had "Launch Infoplus LocalConnect" checked during setup. The Infoplus LocalConnect Sign-In screen will appear.
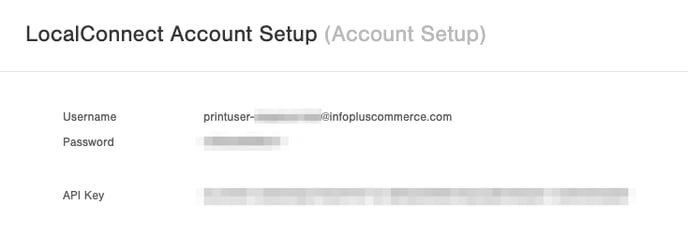
- Enter the Email address and Password that you can get from Infoplus by accessing the LocalConnect Account Setup process under the Equipment app; then click Sign In.
Note that the Username from LocalConnect Account Setup goes in the Email address field.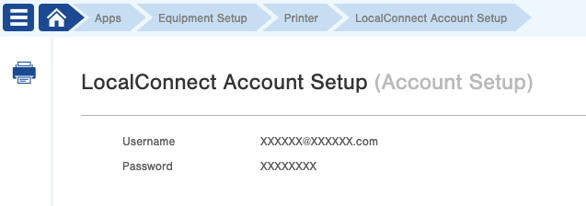
- Next, Connect Your Printer to Infoplus, or Connect Your Scale to Infoplus.
How to Connect Printers to Infoplus
Once you have installed Infoplus LocalConnect and the application is running, connect your printers to Infoplus. This step tells Infoplus which printers to use for different types of paper (i.e., 4 x 8 labels).
- Access the "Printer" table. Two ways:
From the Dashboard: Click the “Warehouse Operations” tab, click the “Equipment Setup” App, then click the “Printer” Table.
From the Quick Actions shortcut: Press a dot (period) on your keyboard, then select "Printer” from the list of Quick Actions. - Click the Create New button in the top right. The Setup step in the Create Printer process appears.
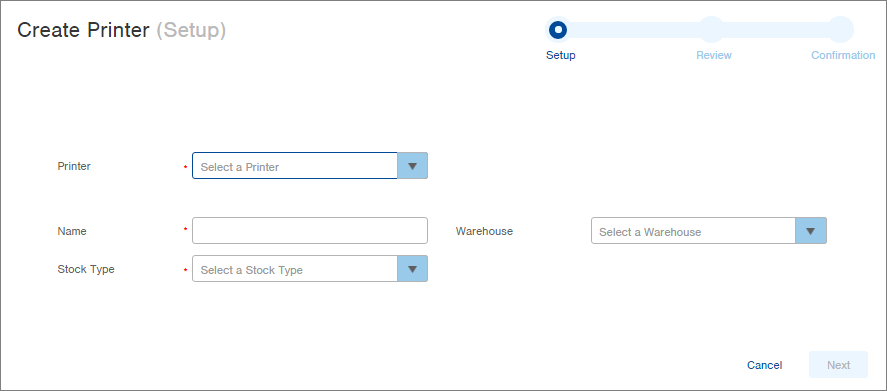
- Click the drop-down menu next to the Printer field. All printers found by Infoplus LocalConnect will appear in the drop-down menu. Select the printer to set up. NOTE: Any printers that have already been set up will not appear in the drop-down menu.
- In the Name field, give the Printer a name (i.e., 4 x 8 label printer).
- In the Stock Type field, select the paper type used by the printer (i.e., 8.5 x 11, 8.5 x 11 integrated, 4 x 6 label, 4 x 8 label).
- (Optional), in the Warehouse field, select the Warehouse for the printer. This field is for categorization of printers only (i.e., to search for all printers for a particular warehouse).
- Click Next. The Review step in the process appears.
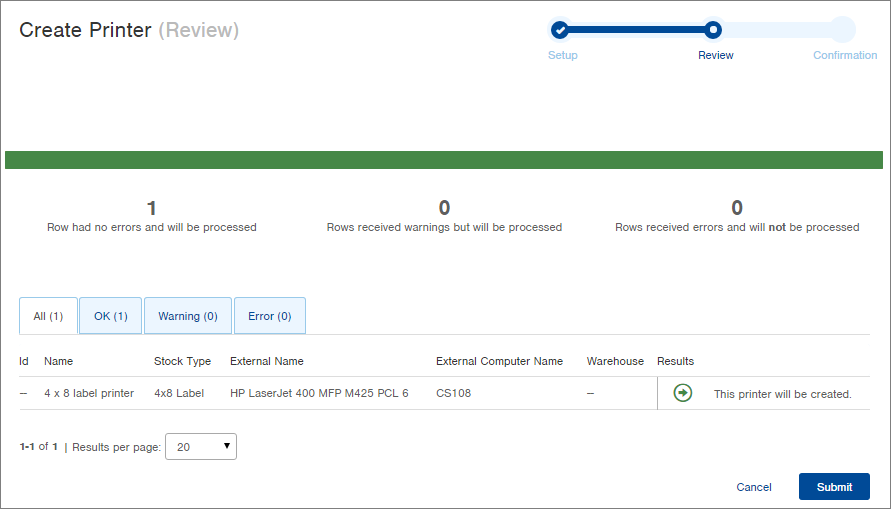
- If no errors or warnings occurred in the Setup step, click Submit. The Confirmation step in the process appears.
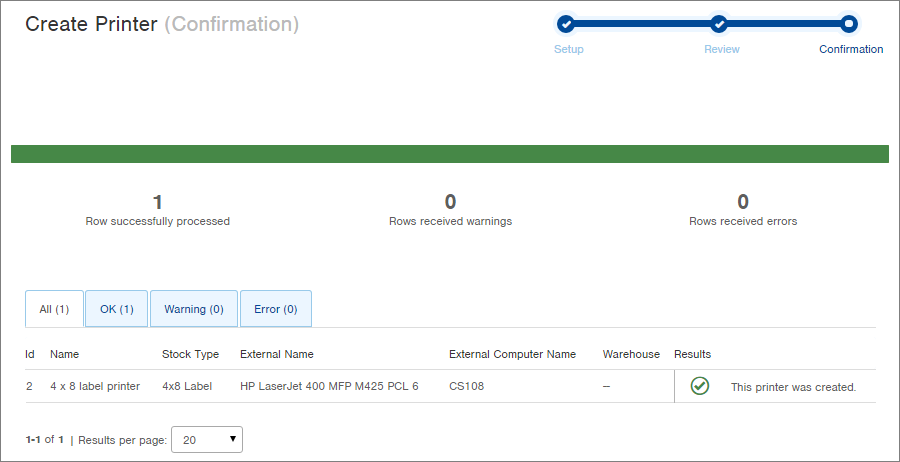
- The printer was created and now displays in the "Printer" table. If you would like to print a test page, see the section below.
How to Print a Test Page
- Access the "Printer" table. Two ways:
From the Dashboard: Click the “Warehouse Operations” tab, click the “Equipment Setup” App, then click the “Printer” Table.
From the Quick Actions shortcut: Press a dot (period) on your keyboard, then select "Printer” from the list of Quick Actions. - Click the checkbox next to the printer you want to test.
- Click the Actions menu, and select Print Test Page. The Review step of the "Print Test Page" process appears.
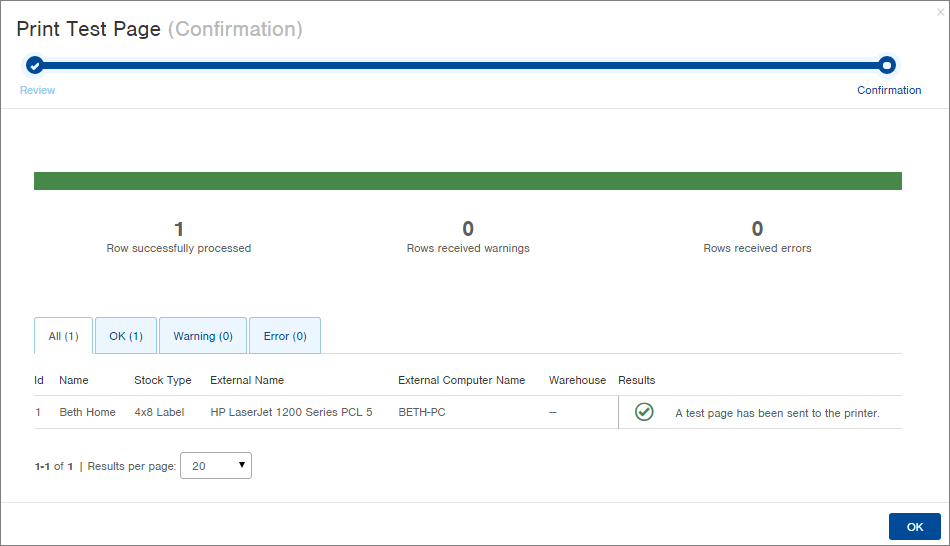
- Review the planned results, and then click Submit. A test page will be sent to the printer, and the Confirmation step in the process appears.
- NOTE: If a test page did not print, confirm Infoplus LocalConnect is running. Also check the printer setup in the Printer table in Infoplus.
- Click OK. You will return to the Printer table. Printer setup is complete, but to tell Infoplus to automatically print, you must Turn On Auto Print in your User Profile.
Create / View an Infoplus LocalConnect Account
Learn how to create and view your LocalConnect Account via the Printer table in Infoplus.
In this article, you will learn how to create and view Infoplus LocalConnect account credentials for any Infoplus site. Here is an article that explains what LocalConnect is: Install Infoplus LocalConnect
Create and View Accounts
In Infoplus, creating and viewing LocalConnect accounts are the same process. Follow the steps below for these:
- Access the "Printer" table. Two methods:
- From the Dashboard: Click the “Apps” tab, click the “Equipment Setup” App, then click the “Printer” Table.
- From the Quick Actions shortcut: Press a dot (period) on your keyboard, then select “Printer” from the list of Quick Actions.
- Once on the Printer table, in the Actions menu, select "LocalConnect Account Setup":
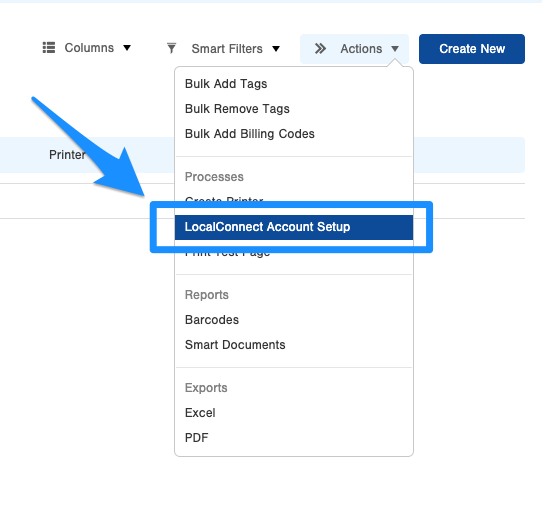
- This will then either create the account if one hasn't been created or will display the credentials if one has: