Create / View an Infoplus LocalConnect Account
Learn how to create and view your LocalConnect Account via the Printer table in Infoplus.
In this article, you will learn how to create and view Infoplus LocalConnect account credentials for any Infoplus site. Here is an article that explains what LocalConnect is: Install Infoplus LocalConnect
Create and View Accounts
In Infoplus, creating and viewing LocalConnect accounts are the same process. Follow the steps below for these:
- Access the "Printer" table. Two methods:
- From the Dashboard: Click the “Apps” tab, click the “Equipment Setup” App, then click the “Printer” Table.
- From the Quick Actions shortcut: Press a dot (period) on your keyboard, then select “Printer” from the list of Quick Actions.
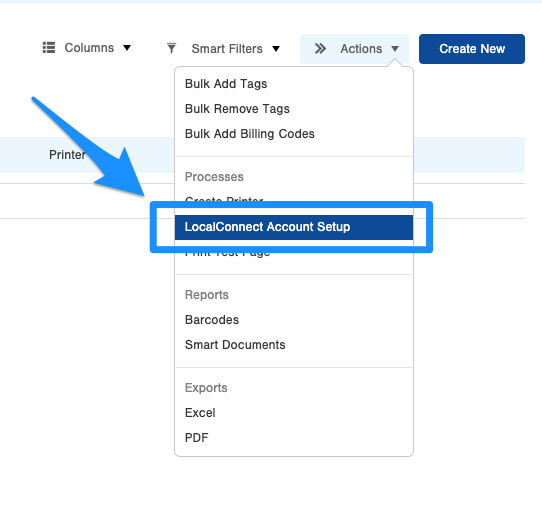
- Once on the Printer table, in the Actions menu, select "LocalConnect Account Setup":

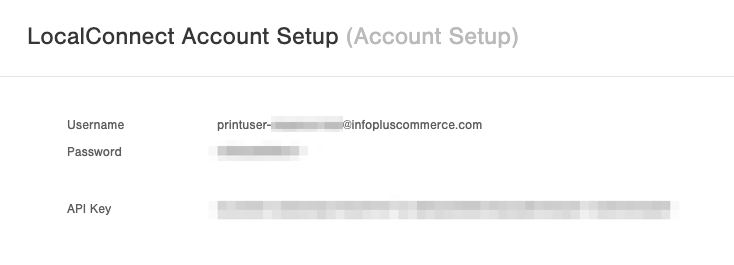
- This will then either create the account if one hasn't been created or will display the credentials if one has:

